Moving your WordPress site can easily slow it down if key settings break, files get bloated, or caching is lost.
Even small mistakes during migration can lead to longer load times, lower rankings, and a poor user experience.
Speed matters more than ever. A fast site keeps visitors engaged, improves SEO, and helps your pages rank higher on Google.
If your site slows down, you risk losing traffic and conversions.
This guide shows you exactly how to migrate your WordPress site without hurting performance.
You’ll learn what to prepare, what to watch out for, and how to keep your site fast before, during, and after the move.
Want to improve your site speed? Learn the basics of hosting and WordPress performance.
Why Speed Often Drops After Migration
Server Differences (Shared vs VPS vs Cloud)
Not all hosting environments perform the same. If you move from a fast server to a slower one, your site will feel it immediately.
Shared hosting places your site on a server with many others. If those sites use too many resources, your speed drops.
VPS and cloud hosting offer more dedicated resources, which usually means better performance and stability.
Even small differences matter. A different server location, slower disk type, or lower PHP performance can increase load times.
Always compare your old and new hosting setup before migrating.
Missing Caching or CDN Setup
Caching reduces the amount of work your server has to do. If caching is not set up after migration, your site will load slower right away.
Many migrations do not carry over caching settings. Your cache plugin may reset, or server-level caching may not be enabled on the new host.
This forces your site to rebuild pages from scratch for every visitor.
The same applies to your CDN. If it is not connected or configured correctly, users will no longer get content from nearby servers.
This increases load times, especially for visitors far from your hosting location.
Larger Database or Unoptimized Files
Over time, WordPress collects unnecessary data. This includes post revisions, spam comments, and unused tables. When you migrate, all of this moves with your site.
A large database takes longer to process. This slows down page generation, especially on lower-powered servers.
Unoptimized images and files also add weight. If your media library contains large images or unused assets, your pages will take longer to load.
Migration is the perfect time to clean and optimize everything.
DNS Propagation Delays
After migration, your domain needs to point to the new server. This process is called DNS propagation, and it can take time.
During this period, some visitors may still reach the old server while others see the new one. This can cause inconsistent speed and performance issues.
If the new DNS settings are not configured properly, delays can be even worse. Slow DNS response times add extra seconds before your site even starts loading.
Always check your DNS setup to avoid this problem.
Pre-Migration Checklist (Don’t Skip This)
- Backup your entire website
Create a full backup of your files and database so you can quickly restore your site if anything goes wrong. - Record current performance metrics (GTmetrix, PageSpeed Insights)
Test your site speed before migration to have a clear benchmark for comparison after the move. - Note hosting specs and configurations
Write down key settings like PHP version, caching setup, and server type to match or improve them on the new host. - Update WordPress, themes, and plugins
Ensure everything is up to date to reduce compatibility issues and improve performance during migration. - Clean up unused plugins and media
Remove anything you don’t need to reduce file size, speed up migration, and improve overall performance.
1. Choose the Right Hosting for Performance
Difference Between Shared, VPS, and Managed WordPress Hosting
Your hosting type has a direct impact on speed. Choosing the wrong one can slow your site down before you even start.
Shared hosting is the cheapest option. Your site shares resources with many others, which can cause slowdowns during traffic spikes.
It works for small sites, but performance is often inconsistent.
VPS hosting gives you dedicated resources within a virtual environment.
This means better speed, more control, and fewer slowdowns caused by other users. It’s a strong step up from shared hosting.
Managed WordPress hosting is built specifically for WordPress. It includes performance optimizations, automatic updates, and built-in caching.
This option is usually the fastest and easiest to manage, especially if you want reliable speed without technical work.
Importance of SSD Storage, LiteSpeed/NGINX, and Server Location
Not all servers are built the same. The hardware and software used by your host play a big role in performance.
SSD storage is much faster than traditional hard drives. It reduces the time it takes to read and load files, which improves page speed.
Web servers like LiteSpeed and NGINX are designed for high performance. They handle traffic more efficiently and work well with caching systems.
This helps your site load faster under both normal and heavy traffic.
Server location also matters. The closer your server is to your visitors, the faster your site loads.
If your audience is in one region, choose a server nearby or use a CDN to bridge the gap.
Why Hosting Quality Matters for Speed
Your hosting provider controls the foundation of your website. If that foundation is weak, no amount of optimization will fully fix it.
High-quality hosting offers better uptime, faster response times, and stable performance. It also includes features like built-in caching, optimized servers, and better resource allocation.
Cheap hosting may save money upfront, but it often leads to slow speeds and frequent issues. Investing in good hosting ensures your site stays fast, reliable, and ready to grow.
2. Set Up the New Hosting Environment Properly
Install WordPress on the New Server
Start by installing a fresh copy of WordPress on your new hosting account. This ensures the server is ready and properly configured before you move your site.
Most hosts offer one-click WordPress installation. Use this to save time and avoid setup errors.
Once installed, confirm that the site loads correctly on the new server before continuing.
Match PHP Version and Server Settings
Your new server should match or improve your current setup. Differences in PHP versions or settings can break features or slow your site down.
Check your old hosting for details like PHP version, memory limits, and upload size. Then apply the same or better settings on the new server.
Using a newer, stable PHP version often improves speed and security. Just make sure your themes and plugins support it.
Enable Caching (Server-Level if Possible)
Caching should be active before you migrate your site. This helps maintain speed from the moment your site goes live.
Many hosts offer built-in caching at the server level. Enable this if available, as it is faster and more efficient than plugin-based caching alone.
If your host does not provide this, install a caching plugin and configure basic settings. This ensures your site does not load slowly after migration.
Set Up SSL Before Migration
Secure your site with SSL before pointing your domain to the new server. This avoids mixed content issues and keeps your site loading correctly over HTTPS.
Most hosts provide free SSL certificates. Install and activate it early, then confirm that your test URL loads securely.
Setting up SSL in advance prevents errors and ensures a smooth transition without speed or security issues.
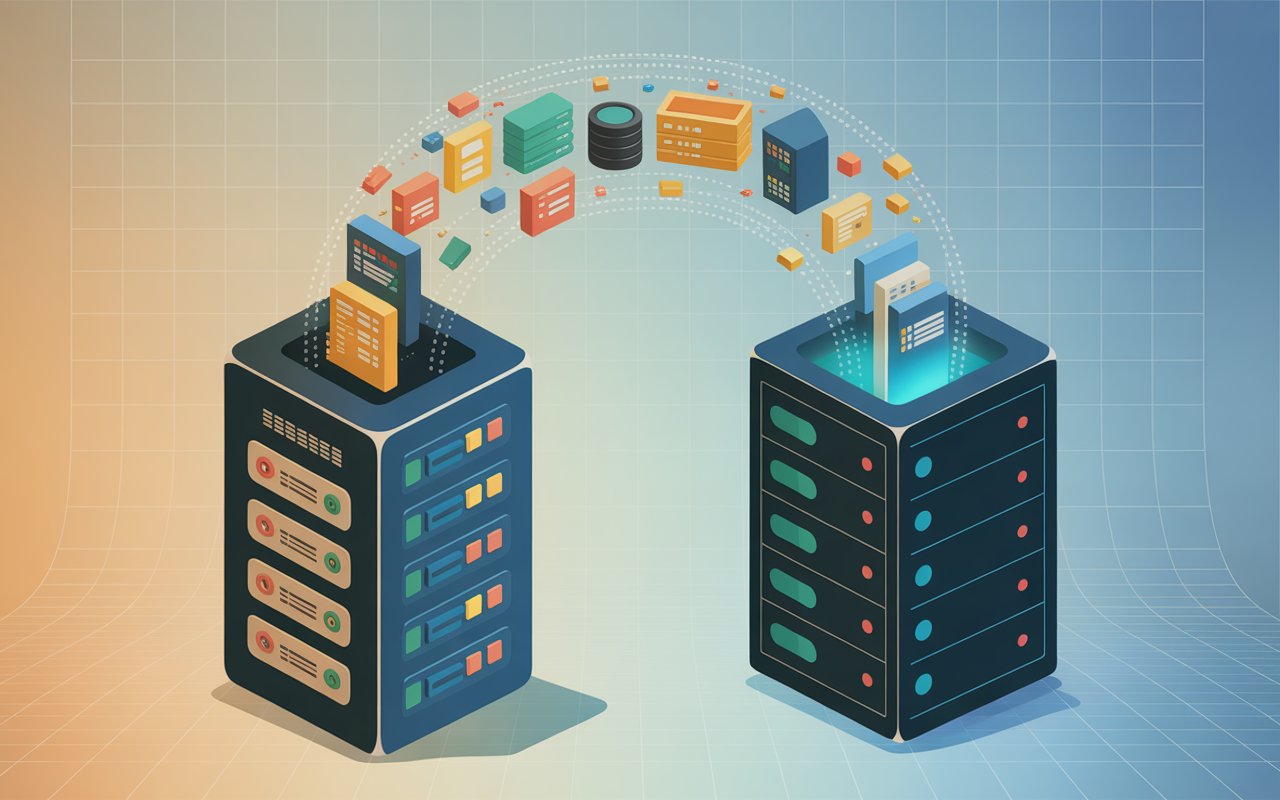
3. Migrate Your Website the Right Way
Using Migration Plugins (e.g., All-in-One WP Migration, Duplicator)
Migration plugins are the easiest and safest option for most users. They handle files, databases, and settings in one process.
Start by installing a trusted migration plugin on your current site. Create a full backup or export file using the plugin.
Then install the same plugin on your new WordPress site and import the file.
Follow the plugin’s steps carefully. Once the import is complete, save your permalinks and test your site. This method reduces errors and keeps your site structure intact.
Manual Migration (Files + Database)
Manual migration gives you full control but requires more care. It involves moving your files and database separately.
First, download all your website files using FTP or your hosting file manager. Then export your database using a tool like phpMyAdmin.
Upload your files to the new server. Next, create a new database and import your old one. Update the wp-config.php file with the new database details.
Finally, check your site URL settings and fix any broken links if needed. This method works well for advanced users or large sites.
Avoiding Downtime During Migration
Downtime can affect both users and SEO, so it’s important to avoid it.
Do not point your domain to the new server until everything is fully set up and tested. Use a temporary URL or edit your local hosts file to preview the site on the new server.
Once you confirm everything works, update your DNS settings to point to the new host. Keep the old hosting active for a short time as a backup.
This approach ensures your visitors can access your site without interruptions during the transition.
4. Configure Caching Immediately After Migration
Install and Configure Caching Plugins
Once your site is live on the new server, set up caching right away. Without it, your pages will load slower because the server has to process everything from scratch.
Choose a reliable caching plugin that works well with your hosting. Install it on your new site and apply the basic recommended settings first.
Avoid changing too many advanced options at once, as this can cause issues.
After setup, test your site to make sure everything loads correctly. Proper caching should improve speed without breaking design or functionality.
Enable Page Caching, Object Caching, and Browser Caching
Different types of caching work together to speed up your site. Each one solves a specific performance problem.
Page caching stores ready-made versions of your pages. This reduces server load and helps pages load faster for visitors.
Object caching stores database query results. This improves performance on dynamic sites that rely on frequent database calls.
Browser caching allows visitors’ devices to store static files like images and scripts. This means returning users will experience faster load times.
Enable these options in your caching plugin or through your hosting settings if available.
Clear Old Cache and Rebuild
Old cache files from your previous server can cause problems after migration. They may serve outdated content or create loading issues.
Clear all existing cache right after migration. This ensures your site starts fresh on the new server.
Then rebuild the cache by visiting key pages or using your plugin’s preload feature. This prepares your site to deliver fast, optimized content from the start.
5. Reconnect and Optimize Your CDN
Set Up or Reconnect CDN (e.g., Cloudflare)
After migration, your CDN may disconnect or stop working correctly. Reconnect it as soon as your new server is ready.
Log in to your CDN provider and confirm your domain is linked to the new hosting. If needed, re-add your site and follow the setup steps again.
Make sure traffic is routing through the CDN. You can check this by confirming that your assets (images, CSS, JS) are being served from CDN servers.
This helps deliver content faster to users in different locations.
Update DNS Settings
Your CDN often works through DNS, so correct settings are critical. If your DNS still points to the old server, your site may load slowly or inconsistently.
Update your domain’s nameservers or A records to point to your CDN or new hosting, depending on your setup. Double-check that all records are correct, including subdomains.
Allow time for DNS changes to propagate. During this period, monitor your site to ensure everything loads properly.
Enable Caching, Compression, and Edge Optimization
Once your CDN is active, turn on key performance features. These settings reduce load times and improve delivery speed.
Enable caching so static files are stored on CDN servers. This reduces the need to fetch data from your origin server.
Turn on compression like GZIP or Brotli. This reduces file sizes and speeds up loading, especially on slower connections.
Use edge optimization features such as minification and smart routing. These improve how content is delivered from the closest server to each visitor.
6. Optimize Database and Media Files
Clean and Optimize Database Tables
Your database often contains unnecessary data that builds up over time. This includes post revisions, spam comments, and leftover data from deleted plugins.
Start by using a database optimization plugin or your hosting tools. Remove unused data and clean up database tables safely.
This reduces the size of your database and speeds up queries.
After cleaning, run an optimization process to reorganize tables. This helps your server access data faster and improves overall performance.
Compress Images and Enable Lazy Loading
Large images are one of the biggest causes of slow websites. Reducing their size can make a noticeable difference.
Use an image optimization plugin to compress existing images without losing quality. Also, ensure new images are automatically optimized when uploaded.
Enable lazy loading so images only load when they are about to appear on the screen. This reduces initial page load time and improves user experience, especially on mobile devices.
Remove Unused Themes and Plugins
Unused themes and plugins take up space and can slow down your site. They may also create security risks.
Delete any plugins or themes you are not actively using. Do not just deactivate them—remove them completely.
Keeping your site lean reduces file size, improves performance, and makes your WordPress setup easier to manage.
7. Fix Common Post-Migration Speed Issues
Broken Links or Missing Assets
After migration, some files may not load correctly. This includes images, CSS files, or scripts that are still pointing to the old server.
Check your site pages and look for missing images or broken layouts. Use a broken link checker tool or your browser’s inspect feature to find errors.
Update incorrect URLs and fix file paths. If needed, run a search-and-replace to update old domain references in your database.
Slow DNS or Incorrect Nameservers
If your DNS is not set up correctly, your site may load slowly or not load at all. This often happens when nameservers are not updated properly during migration.
Confirm that your domain is pointing to the correct nameservers or IP address of your new host or CDN. Even a small mistake can cause delays.
Use DNS checking tools to verify propagation and response time. Faster DNS helps your site start loading quicker for every visitor.
Mixed Content Issues (HTTP/HTTPS)
Mixed content happens when some parts of your site load over HTTP while others use HTTPS. This can break layouts and reduce speed.
Check your site for warnings in the browser. These usually indicate insecure resources being loaded.
Fix this by updating all URLs to HTTPS. You can use a plugin or run a database search-and-replace to correct all links.
Also, ensure your SSL certificate is active and working properly.
Plugin Conflicts
Some plugins may not work well after migration. They can cause slowdowns, errors, or even break parts of your site.
Disable all plugins and then enable them one by one. This helps you identify which plugin is causing the issue.
Once found, update, replace, or remove the problematic plugin. Keeping only essential and well-optimized plugins improves speed and stability.
8. Test Your Website Speed Again
Compare Before vs After Metrics
Testing after migration shows whether your changes improved or hurt performance. Without this step, you are guessing.
Use the results you recorded before migration as your baseline. Compare key metrics like load time, page size, and server response time.
Focus on real improvements. Your goal is equal or better performance than before. If speeds are worse, identify what changed and fix it quickly.
Tools to Use (PageSpeed Insights, GTmetrix, Pingdom)
Use reliable tools to measure your site speed from different angles. Each tool highlights different issues.
Google PageSpeed Insights shows Core Web Vitals and real user experience data. It helps you understand how your site performs in search.
GTmetrix provides detailed reports on loading performance and structure. It is useful for spotting large files or slow elements.
Pingdom is simple and fast. It helps you test load time from different locations and gives a quick performance overview.
Run multiple tests and use an average result. This gives a more accurate view of your site’s speed.
What Improvements to Expect
A successful migration should maintain or improve your site speed. You may notice faster load times, better server response, and smoother performance.
If you upgraded hosting, improvements should be clear. Pages should load quicker, and performance scores should increase.
Small differences are normal, especially during DNS propagation. Focus on consistent results after everything stabilizes.
Advanced Speed Tips (Optional but Powerful)
Use a Lightweight Theme
Your theme affects how fast your site loads. Heavy themes include extra features, scripts, and styles that slow everything down.
Switch to a lightweight theme that focuses on speed and clean code. This reduces the amount of data your site needs to load.
After switching, test your design and performance. A faster theme can improve load times without changing your content.
Enable GZIP/Brotli Compression
Compression reduces the size of files sent from your server to the user’s browser. Smaller files load faster.
Enable GZIP or Brotli through your hosting, CDN, or caching plugin. Most modern setups support this with a simple toggle.
Once enabled, your HTML, CSS, and JavaScript files will load quicker. This improves speed for both desktop and mobile users.
Use a Performance Plugin Stack
No single plugin solves everything. A smart combination of tools can handle different areas of optimization.
Use a caching plugin for page speed, an image optimization plugin for media, and a database cleanup plugin for performance.
Avoid installing too many plugins. Choose reliable ones that work well together to prevent conflicts and slowdowns.
Optimize Core Web Vitals
Core Web Vitals measure real user experience. They focus on loading speed, interactivity, and visual stability.
Improve Largest Contentful Paint (LCP) by optimizing images and using fast hosting. Reduce First Input Delay (FID) by limiting heavy scripts.
Fix Cumulative Layout Shift (CLS) by setting proper image sizes and avoiding layout jumps. Small changes here can lead to better rankings and user experience.
Final Checklist Before Going Live
- Confirm everything loads correctly: Check your site page by page to ensure layouts, images, links, and key features like forms and menus work properly.
- Check mobile performance: Test your site on mobile devices or simulators to make sure it loads fast, displays correctly, and is easy to use.
- Monitor uptime and speed for 24–48 hours: Track your site after launch to catch slowdowns or downtime early and fix issues before they affect users.
- Re-submit sitemap if needed: Submit your sitemap in Google Search Console if URLs have changed to help search engines crawl and index your site correctly.
Final Thoughts
Migrating your WordPress site doesn’t have to slow it down. With the right steps, you can keep your site just as fast or even faster after the move.
The key is preparation and proper setup. Plan ahead, match your settings, and optimize everything before and after migration.
Keep monitoring and improving your site over time. Small changes can make a big difference in speed and performance.
If your site feels slow, start by understanding what impacts WordPress speed at the server level.
FAQs
Can migrating WordPress affect speed?
Yes, it can improve or reduce speed depending on your hosting, setup, and optimization.
How long does a WordPress migration take?
It usually takes a few minutes to a few hours, depending on your site size and the method used.
Will I lose SEO rankings after migration?
Not if done correctly. Maintain speed, URLs, and structure to avoid ranking drops.
Do I need a CDN after migrating?
It’s not required, but it helps improve speed, especially for global visitors.
What’s the safest way to migrate WordPress?
Using a trusted migration plugin is the safest and easiest option for most users.

Hi, I’m Daniel Cacheton. I specialize in WordPress performance optimization and have spent 7+ years improving site speed, Core Web Vitals, and overall user experience. I share practical, no-fluff guides based on real testing to help you build faster WordPress websites.