Backing up your WordPress site is like keeping a safety net under your digital world. If something goes wrong, your backup is there to catch you.
Whether it’s a hacker, a wrong update, or just bad luck, backups can save the day.
We’ll walk you through four easy methods to back up your site: using plugins, cPanel, manual database backups, and FTP.
Each method suits different needs and skill levels.
From beginners to pros, there’s a backup strategy here for you.
No jargon, no fluff—just simple steps to protect your site.
The 4 Backup Methods Discussed In This Article
- Using Backup Plugins (Recommended for Beginners)
- Manual Backup via cPanel
- Manual Backup of WordPress Databases
- FTP Backups
Understanding the Importance of WordPress Backups
As mentioned earlier, backups are your safety net. They keep your website’s data secure and ready to bounce back, no matter what happens.
Think of a WordPress backup as a complete snapshot of your site’s heart and soul—its posts, images, settings, and all the behind-the-scenes bits that make it work.
This snapshot ensures you can return your site to its last good state, avoiding panic when the unexpected occurs.
Why Backups Are Non-Negotiable
Imagine waking up to find your website—gone. Maybe a hacker decided to visit, or an update didn’t go as planned.
Perhaps it was a simple mistake, or your hosting service had a glitch.
Even something as mundane as running out of storage can erase your hard work.
That’s where backups come in, providing a restore point to turn back time.
The Dangers Lurking Around
Data loss is the boogeyman of the digital world. It sneaks up through human errors, cyber-attacks, or even Mother Nature herself.
Without backups, you’re not just risking your website’s content; you’re risking your online reputation, potentially facing downtime, financial losses, and a significant hit to your credibility.
Choosing Your Backup Strategy
Not all backups are created equal. Some folks prefer to let plugins handle the heavy lifting, automating the process to save time and headaches.
Some examples of backup plugins are UpdraftPlus, Jetpack, VaultPress, and more.
These tools are game-changers, offering features from automated scheduling to secure cloud storage.
But remember, even the best plugin can’t help if it’s not set up correctly.
Regularly testing your backups and having a clear restore plan are critical steps that shouldn’t be overlooked.
Others go manual, backing up through cPanel or FTP, especially before big changes like theme or plugin updates.
While automated backups win for convenience, manual backups have their moment, especially before updates or when making significant changes.
Then there’s the cloud—offering off-site storage that’s both secure and accessible from anywhere.
Best Practices for Peace of Mind
Backing up your WordPress site isn’t just about having copies of your data; it’s about smart, strategic planning.
Regular, automated backups ensure you always have a recent save to fall back on. Storing these backups off-site shields them from site-specific catastrophes.
And by keeping multiple versions in various locations, you’re creating a great safety net that’s tough to penetrate.
Preparing for Your WordPress Backup
Before diving into the backup process, it’s crucial to know exactly what needs backing up.
Your WordPress site lives through its files and database.
Files include your themes, plugins, scripts, and media, which make your site look and function a certain way.
The database, on the other hand, is where all your content lives—posts, pages, comments, and the settings that tie it all together.
What to Back Up: Files and Database
Every part of your site is important, but not all of it can be easily replaced.
Files like your wp-config.php or .htaccess are unique to your setup.
Themes and plugins might be redownloaded, but any customizations you’ve made won’t survive without a backup.
Your media uploads, from images to videos, are also irreplaceable unless saved elsewhere.
And then there’s your database—a treasure trove of your words, user interactions, and site structure.
Losing this means losing your site as you know it.
Evaluating Your Backup Needs
Not all websites are created equal. A small blog with monthly updates doesn’t face the same risks as a bustling online store.
Think about your site’s size: larger sites with lots of media files need more backup space.
Complexity matters too. A site with numerous plugins and custom code has more bits that could go wrong and thus requires more frequent backups.
Finally, consider your traffic. High-traffic sites not only change more often but also have more to lose if something goes wrong.
In short, the more you have invested in your site, the more you have to lose, making a solid backup strategy not just wise but essential.
Comprehensive Methods for Backing Up Your WordPress Site
There are several methods to back up your site, each with its benefits.
Among the most popular are using backup plugins, manual backup methods, and leveraging tools provided by hosting providers.
Let’s first look at the most popular method recommended for beginners, which is by simply using a plugin.
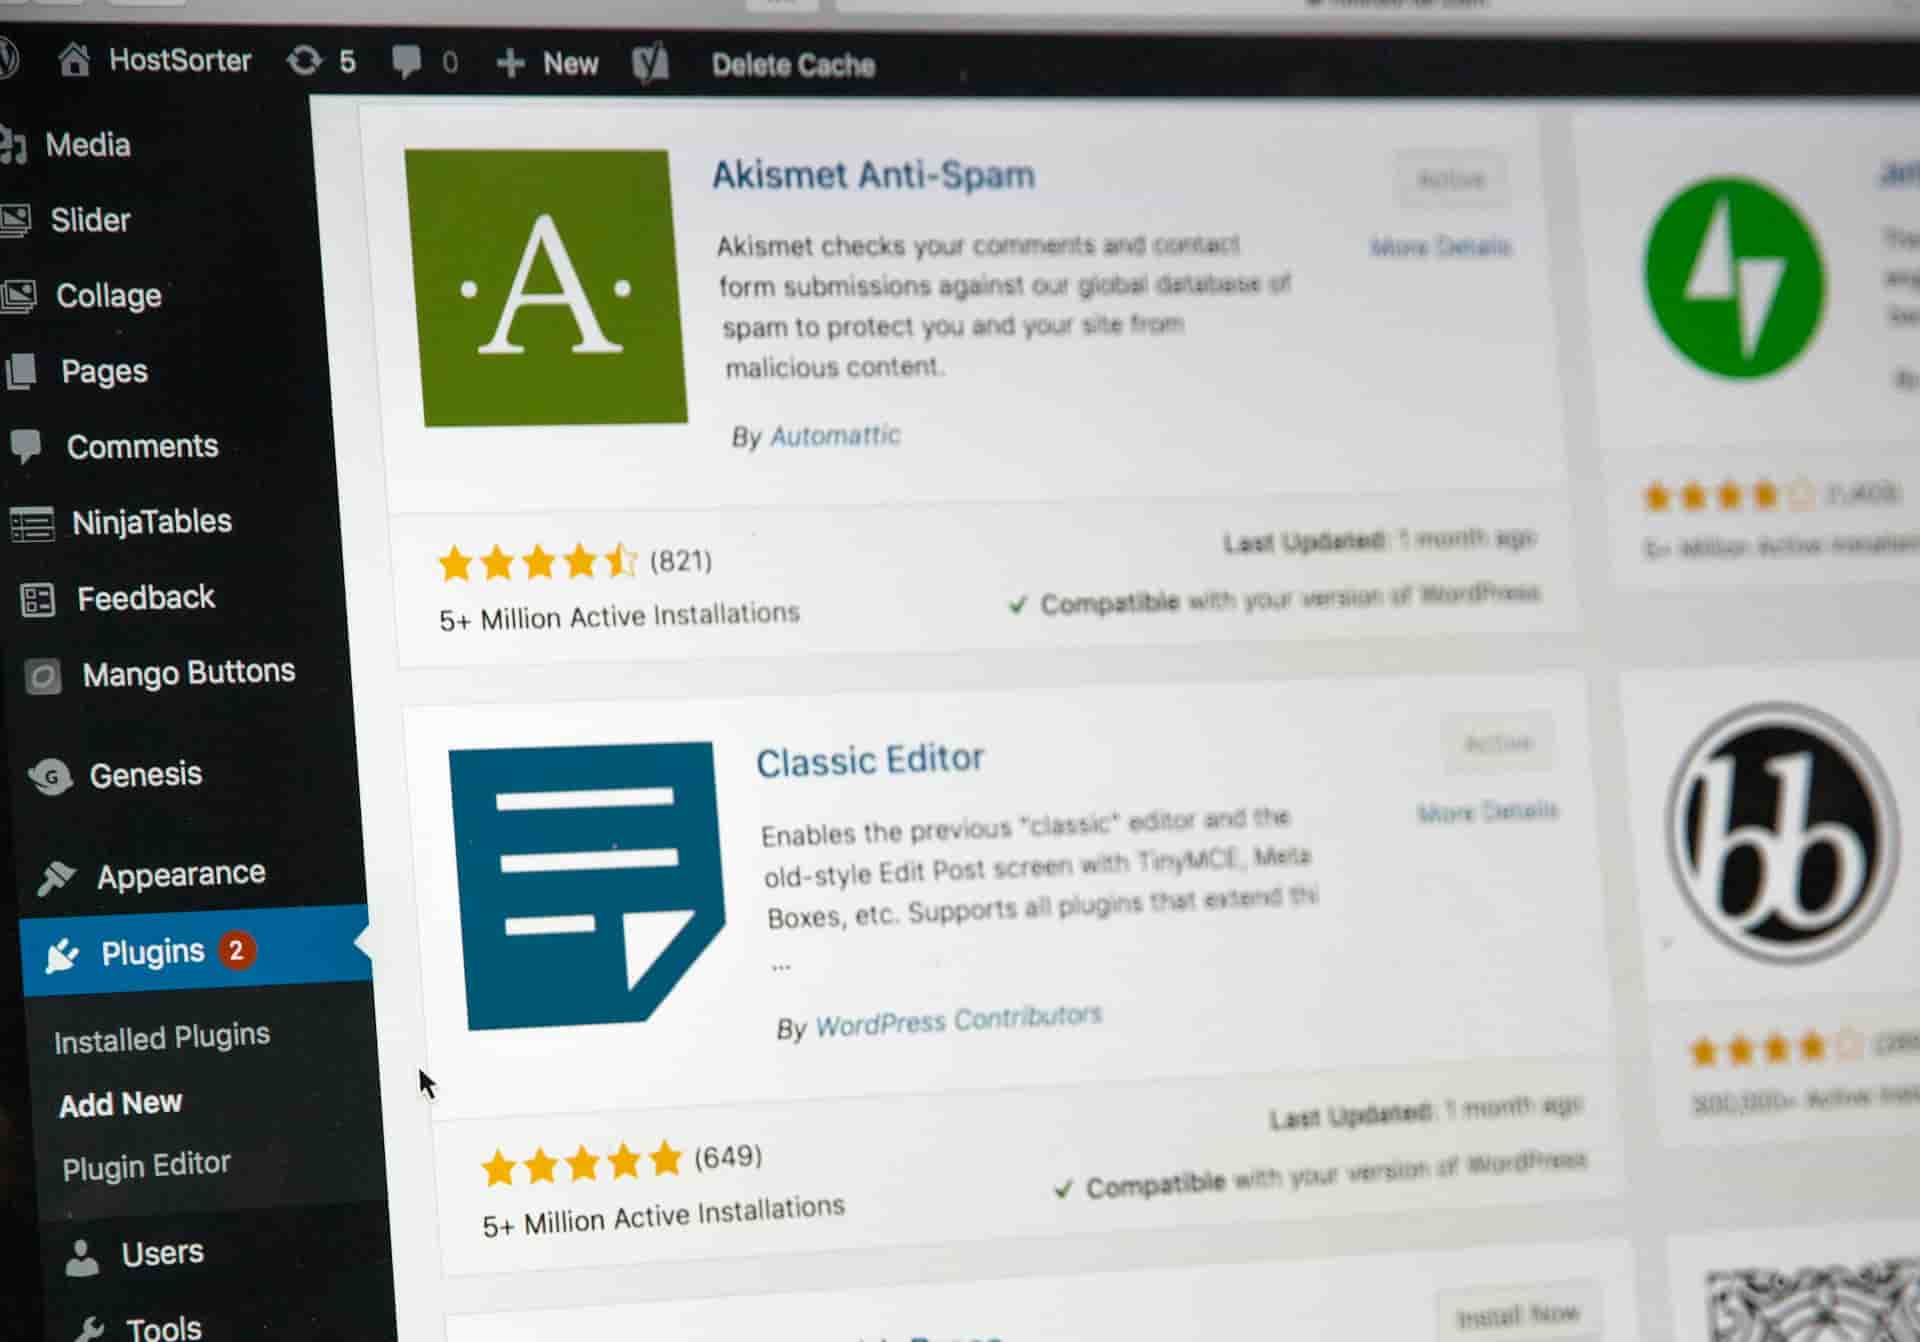
Method 1: Using Backup Plugins (Recommended for Beginners)
Backup plugins simplify the process of securing your WordPress site.
They are especially beneficial for beginners due to their ease of use and automation capabilities.
Plugins like Duplicator and UpdraftPlus are highly recommended for their robust features, including automatic backups and cloud storage integration.
Advantages of Using Plugins for Backups
Plugins automate the tedious process of backing up your site.
They can schedule regular backups, ensuring your site is always protected without manual intervention.
Plugins also often feature direct integration with cloud storage services, making it easy to store backups offsite—a practice that enhances the security of your backups.
Step-by-Step Guide to Using Duplicator for Backups
Backing up a WordPress site using Duplicator Pro involves several key steps to ensure that you have a safe and restorable version of your site. Here’s how to do it:
Step 1: Install Duplicator Pro
- Purchase and Download: Start by purchasing Duplicator Pro from its website, then download the plugin file.
- WordPress Dashboard: Go to your WordPress dashboard, navigate to Plugins > Add New, and click the Upload Plugin button.
- Upload and Activate: Choose the Duplicator Pro plugin file you downloaded, upload it, and then activate the plugin.
Step 2: Activate Your License
- After activating Duplicator Pro, go to Duplicator Pro > Settings in your WordPress dashboard.
- Enter your license key in the Licensing tab to activate your subscription and access all features.
Step 3: Create a Backup Package
- Navigate to Duplicator Pro: In your WordPress dashboard, find and click on Duplicator Pro > Packages.
- Create New Package: Click on the Create New button to start the backup process.
- Configure Your Package: Give your package a name and choose what to include. You can select specific files, directories, and database tables or opt for a full backup. If you’re unsure, it’s safest to back up everything.
- Storage Options: Choose where to store your backup. Duplicator Pro supports multiple storage options such as local server, Google Drive, Dropbox, Amazon S3, and more. Setting up remote storage is highly recommended for added security.
- Build the Package: Once configured, click the Next button. Duplicator Pro will scan your site to ensure it can be packaged without issues. If everything looks good, click the Build button.
Step 4: Download or Store Your Backup
- After the build process completes, you’ll have the option to download your package to your local computer. Alternatively, if you’ve set up remote storage, ensure your package is safely uploaded to your chosen cloud service.
- Your package consists of an archive file (containing your website) and an installer file (used to deploy your website).
Step 5: Set Up Automatic Backups
- To automate the backup process, navigate to Duplicator Pro > Schedules.
- Click on Add New to create a new schedule. Here, you can specify how often you want the backups to occur (e.g., daily, weekly, monthly) and what time they should start.
- Choose what to include in the scheduled backups, where to store them, and confirm your schedule settings.
- Save your schedule. Duplicator Pro will automatically perform backups based on your configuration.
Method 2: Manual Backup via cPanel
Taking a manual approach to back up your WordPress site can seem daunting, but it’s a valuable skill to have.
Using cPanel, a popular hosting account management tool, you can back up your website files and database directly.
This method gives you full control over the backup and restore process.
Here’s how to do it:
Step 1: Log Into cPanel
First, log into your hosting account. Look for the cPanel or control panel access link.
Once found, click on it to open the cPanel dashboard.
This is where you can manage all aspects of your hosting account, including files, databases, and backups.
Step 2: Open File Manager
Within the cPanel dashboard, locate the “File Manager” icon.
Clicking on this will open a new window or tab displaying the directory structure of your hosting account.
This is where all of your website files are stored and managed.
Step 3: Navigate to Your WordPress Directory
Most WordPress sites are located in the “public_html” directory.
If you installed WordPress in a subdirectory or on a subdomain, navigate to that specific location.
Step 4: Select All Files and Folders
In the WordPress directory, you need to select all the files and folders.
There’s usually a “Select All” option in the menu or toolbar within File Manager.
This ensures you’re backing up every piece of your website.
Step 5: Compress the Files
After selecting all the files, find and click the “Compress” option.
A dialog box will pop up, asking you to choose a compression format. Zip is recommended for its balance of efficiency and compatibility.
Confirm your choice, and the system will start compressing all selected files into a single, manageable zip file.
Step 6: Download the Backup
Once compression is complete, you should see your new zip file among your other files.
Click to select this zip file, then look for the “Download” option.
Clicking this will prompt you to choose where you want to save the file on your computer or an external storage device.
Make sure to pick a location that’s secure and where you’ll remember to find the backup.
Method 3: Manual Backup of WordPress Databases
Backing up your WordPress database is just as crucial as saving your site’s files.
The database holds all your website’s content, including posts, pages, comments, and settings.
Using phpMyAdmin, a web-based database management tool found in cPanel, you can export your database for safekeeping.
Here’s how to do it efficiently and securely:
Step 1: Access phpMyAdmin
Begin by returning to your cPanel dashboard.
Look for the “phpMyAdmin” icon, typically located under the “Databases” section.
Clicking on this icon will launch phpMyAdmin in a new browser window or tab.
This tool allows you to interact directly with your WordPress site’s database.
Step 2: Select Your WordPress Database
In the phpMyAdmin interface, you’ll see a list of databases on the left side.
Locate and click on the database that belongs to your WordPress site.
If you’re unsure which one it is, you can find the database name listed in the ‘wp-config.php’ file.
This file is in your WordPress site’s root directory.
Export the Database
After selecting your database, navigate to the “Export” tab located at the top of the phpMyAdmin page.
For most backup purposes, the “Quick” export method and “SQL” format are adequate.
Select these options and then click the “Go” button to proceed.
Step 4: Download Your Database Backup
Upon clicking “Go,” your browser will start downloading the .sql file that contains your entire WordPress database.
Ensure you save this file in a secure location, preferably where you’ve stored your site’s file backup.
Best Practices for Securing and Storing Database Backups
Secure Storage
Store your database backup in a location that’s both secure and separate from your website files.
This can be an external hard drive, a cloud storage service, or any other secure digital storage solution.
The key is to ensure it’s not stored on the same server as your website, to protect against server-wide data loss or hacking incidents.
Regular Updates
Just like your site’s files, your database is continuously changing.
Regularly exporting a new backup of your database ensures that you have the most recent data saved.
How often you back up should align with how frequently your site’s content is updated.
Sensitive Data Care
Remember, your database contains sensitive information.
Handle and store your backups with care, ensuring only authorized personnel have access to them.
Method 4: FTP Backups
Backing up your WordPress site through File Transfer Protocol (FTP) gives you a comprehensive copy of all your website’s vital files directly on your local computer.
This manual method is especially beneficial for those who prefer to have hands-on control over their website’s backups, including themes, plugins, media files, and the core WordPress files.
Let’s break down how to accomplish this:
Step 1: Choose an FTP Client
Before starting, you’ll need to pick an FTP client.
This is a software that helps you move files between your computer and your web hosting server.
Some widely used FTP clients include FileZilla, WinSCP, Cyberduck, Transmit (for Mac users), and CuteFTP.
Step 2: Connect to Your Hosting Account
- Open your chosen FTP client and set up a new connection or site profile.
- Input your FTP credentials: This includes your FTP username, password, host (often your site’s domain or an IP address), and port (usually 21 for FTP). You can find these details in your hosting provider’s control panel or by reaching out to their support team.
- Establish the connection to your server with these details.
Step 3: Navigate to Your WordPress Installation
Once connected, head to the directory where WordPress is installed, typically named public_html, www, or after your domain.
Step 4: Download Your Site’s Files
- Find the WordPress files, including folders like wp-admin, wp-content, and wp-includes.
- Select everything to ensure you’re backing up the entire site, not just parts of it.
- Initiate the download by right-clicking on the selected files and choosing to download. The time this takes will depend on your site’s size.
Tips for Organizing and Securing FTP Backups
- Backup Regularity: Your backup frequency should mirror how often your site is updated. Regular backups are key to ensuring you always have an up-to-date copy of your site.
- Secure Storage: Don’t just keep a single copy; store backups in multiple locations, such as on an external hard drive and in cloud storage, to mitigate risk.
- Verify Your Backups: Every now and then, check your backups to make sure they’re complete and not corrupted. This ensures you can rely on them if needed.
How to Restore Your WordPress Site from a Backup
Restoring your WordPress site after an unexpected event, such as a cyber-attack, a problematic update, or simple coding errors, is vital to getting back online swiftly and safely.
Now that your backups are ready, this step-by-step guide will help you get back on track and have your website restored in no time.
1. Prepare Before Restoration
Ensure Backup Availability: Before you begin, make sure you have access to a recent backup of your site. This includes the wp-content folder, all WordPress files, and your database’s .sql file.
Maintenance Mode (Optional): It’s a good idea to put your site in maintenance mode. This keeps visitors from accessing the site while you work on it.
2. Methods of Restoration
A. Using a Plugin (like Duplicator, or UpdraftPlus)
Backup plugins can also be an automated way to restore your site, which is great for those who might not be tech-savvy.
- Install the Plugin: If you can’t access your WordPress dashboard, you’ll need to reinstall WordPress first, then add the backup plugin.
- Restore: Head over to the plugin area in your WordPress dashboard, choose the backup you want to restore from and follow the prompts provided by the plugin.
B. Manual Restoration
This involves manually uploading your site’s files and database through your hosting account’s control panel.
Restore Files:
- Access File Manager or FTP: Log into your hosting account, open the File Manager, or connect via FTP.
- Delete Current WordPress Files: Go to the root directory, usually “public_html,” and delete the existing WordPress files. Be careful not to delete the wp-config.php file and the wp-content folder to preserve your settings and content.
- Upload Backup Files: Upload the files from your backup. If it’s a zip file, upload it and then unzip it directly in the root directory.
Restore Database:
- Access phpMyAdmin: Find phpMyAdmin in your hosting dashboard.
- Create a New Database (optional): You might want to start fresh with a new database and user. Just make sure the new user has full access to the database.
- Import Backup: Choose your database in phpMyAdmin, hit the “Import” tab, select your .sql backup file, and press “Go.”
- Update wp-config.php: If you’ve created a new database or user, make sure to update the wp-config.php file with the new details.
C. Restoring Through cPanel
If you have cPanel, you can use its built-in tools to restore your site.
- Navigate to ‘Backup’: Look for the “Backup” or “Backup Wizard” tool in cPanel.
- Restore Files and Database: Follow the cPanel prompts to upload and restore your site’s files and MySQL database.
3. After Restoration
- Check Your Site: Once everything’s uploaded, take your time to go through your site. Make sure every part is functioning as it should.
- Disable Maintenance Mode: If you turned on maintenance mode, now’s the time to turn it off.
- Update Everything: Double-check that WordPress, along with all plugins and themes, are up to date. This can help prevent future issues.
- Perform a New Backup: With your site back to normal, make a fresh backup. It’s always good to have an up-to-date restore point.
4. Considerations
- Remember, restoring from a backup might overwrite all existing data. Make sure you’re ready to go ahead, especially if you’ve made changes you want to keep since your last backup.
- If things don’t go smoothly, don’t hesitate to reach out to your hosting provider’s support team. They’re there to help!
Backup Scheduling and Frequency
Deciding how often to back up your WordPress site is crucial for maintaining a reliable recovery plan.
The frequency of backups should reflect how often your site’s content changes and its overall activity level.
Let’s dive into how you can determine the best backup schedule for your site and explore the differences in backup needs between dynamic and static sites.
Determining the Optimal Backup Frequency for Your Site
The key to setting the right backup frequency lies in understanding the nature of your website:
- Content Updates: How often do you publish new content? If you update your site daily, then a daily backup might be necessary. Less frequently updated sites might be fine with weekly backups.
- Comments and User Interactions: For sites with high user interaction, like forums or membership sites, consider more frequent backups to capture the latest user contributions.
- E-commerce Transactions: If you run an online store, real-time or hourly backups can help ensure you don’t lose recent transactions and customer data.
Ultimately, the goal is to minimize data loss without overloading your storage space.
Real-time Backups for Dynamic Sites vs. Daily/Weekly Backups for Static Sites
Dynamic Sites
Dynamic sites, such as e-commerce platforms, community forums, or membership sites, are constantly changing.
Every new user interaction — be it a purchase, a forum post, or a membership signup — updates your database.
For such sites, real-time backups offer a safeguard that ensures every piece of new data is captured almost immediately.
This can be particularly critical for preserving transaction data and maintaining user trust.
Static Sites
Static sites, on the other hand, change less frequently.
These might be portfolio sites, small business pages, or blogs with infrequent posts.
For these types of websites, daily or weekly backups might suffice.
The content doesn’t change often, so there’s less risk involved in a less frequent backup schedule.
Balancing Backup Frequency with Site Performance
It’s important to balance your backup frequency with your site’s performance.
Backups, especially on large sites, can be resource-intensive and potentially slow down your site if run during high-traffic periods.
Consider scheduling backups during off-peak hours to minimize impact on your site’s users.
Automated Backup Solutions
As mentioned earlier, many WordPress backup plugins and hosting services offer automated solutions that can be scheduled to fit your site’s needs.
These can be a lifesaver, removing the need to manually back up your site and ensuring you never forget to make a backup.
Ensuring Backup Integrity and Security
After establishing a backup routine for your WordPress site, the next crucial steps involve ensuring the integrity and security of those backups.
Let’s explore how regular testing and secure storage practices can protect your backups from becoming useless or compromised.
Testing Backups Regularly
Testing your backups is like rehearsing a fire drill; you don’t want to figure out the escape routes during an actual fire.
Similarly, you should regularly test your backups to ensure they can be restored:
- Schedule Regular Tests: Set a calendar reminder to test your backups. Depending on your site’s complexity and update frequency, this could be monthly or quarterly.
- Perform Test Restorations: Use a staging environment or a local server to restore your site from a backup. This checks both the backup’s completeness and the restoration process itself.
- Check for Completeness: Ensure that all critical data, including files, databases, and configurations, have been correctly backed up and can be restored.
Encrypting Backup Data
Encrypting your backup data adds a layer of security that protects sensitive information during storage and transfer:
- Use Encrypted Storage Solutions: Opt for cloud storage services or physical storage devices that offer strong encryption. This ensures that even if someone gains unauthorized access, they cannot easily decipher your site’s data.
- Encrypt Before Transfer: If you’re moving backups between locations, ensure the data is encrypted before it’s transferred. This protects your data from being intercepted during the transfer.
Choosing Secure Storage Locations
The location where you store your backups can significantly impact their security and reliability:
- Off-site Storage: Always store backups in a location separate from your primary server. This protects your backups from physical damage (like server malfunctions) and cyber threats targeting your server.
- Cloud Storage Services: Cloud storage providers offer robust security measures, including encryption and physical security. They also provide the flexibility to access backups from anywhere, enhancing your disaster recovery capabilities.
- Multiple Backup Copies: Maintain multiple copies of your backups in different locations. This redundancy ensures that if one backup is lost or corrupted, you have alternatives.
Conclusion
Backing up your WordPress site is like having a safety net. It’s essential, no matter how small or big your site is.
We’ve explored various methods to secure your website’s data, from using plugins and cPanel to manual FTP and database backups.
Each method has its place, depending on your comfort level and needs.
Remember, regular backups are your first line of defense against data loss, hacks, and other website disasters.
Whether you’re running a personal blog or a large e-commerce site, the effort you put into backing up your site is worth it.
It ensures that no matter what happens, you can get your site back up and running with minimal fuss.
Choosing the right backup method depends on your specific situation.
Beginners might prefer plugin solutions for their simplicity and automation, while more advanced users might opt for manual methods for greater control.
No matter your choice, the key is to make regular backups a part of your routine.
We encourage you to review your backup strategy today. If you haven’t started yet, it’s never too late to begin.
FAQ’s
Can I backup a WordPress site without plugins?
Yes, you can back up a WordPress site without using plugins.
This can be done through your web hosting control panel, like cPanel, where you can manually back up your site’s files and database.
Alternatively, you can use FTP to download your site’s files to your local computer and phpMyAdmin to export your site’s database.
How often should I backup my WordPress site?
The frequency of backups should be based on how often your site is updated.
For dynamic sites with daily changes, consider daily backups.
Static sites with less frequent updates might require only weekly or monthly backups.
Always back up before making significant changes to your site, such as updating WordPress, themes, or plugins.
Why store WordPress backups externally?
Storing backups externally ensures that you have a copy of your site’s data offsite, which protects against data loss if your hosting provider experiences issues or if your site is hacked.
Options include cloud storage services like Google Drive, Dropbox, or Amazon S3, which offer secure and accessible storage solutions.
What are the differences between database and file backups?
Database backups contain your site’s content, including posts, pages, comments, and settings, stored in the WordPress database.
File backups consist of your site’s files, such as WordPress core files, theme files, plugin files, and media uploads.
Both types of backups are crucial for a full restoration of your WordPress site, as they cover different aspects of your site’s data and functionality.